The Fireplace
|
For me, the creation of the fireplace was perhaps the most challenging part of the reconstruction. Or I should say the construction, as there was no fireplace, not even stones remaining at the original site. However, apparently, there was originally a massive fireplace as the cut-out area in the logs was about eight by eight feet. This both challenged and pleased me as I did want to have allowance for a roaring fire for warmth and cooking but had no experience was-so-ever with masonry. Fortunately the entire foundation was on Dolostone bedrock and the fireplace was also built upon this surface so there would be no shifting of the massive-to-be fireplace, creating cracking and structural compromise. |
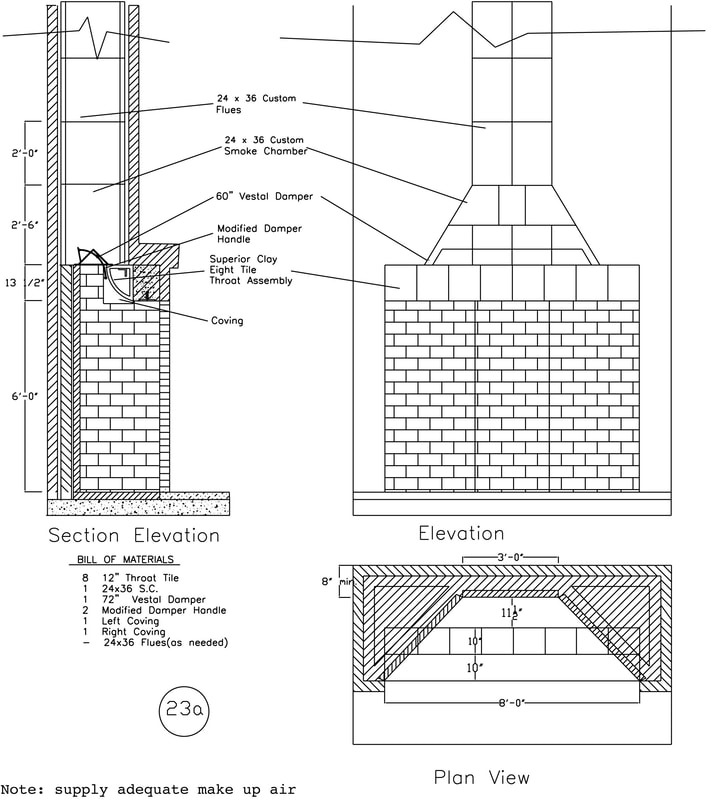
Being also a chemical engineer with experience in thermodynamics, I decided to design a Rumford-style fireplace. The Rumford fireplace is a tall, shallow fireplace designed by Sir Benjamin Thompson, or Count Rumford, a physicist best known for his investigations of heat. Its shallow, angled sides are designed to reflect heat into the room, and its streamlined throat minimizes turbulence, thereby carrying away smoke with little loss of heated room air.
We purchased from Superior Clay the throat assembly, the damper, and about ten 24 by 36 flue tiles, each very heavy. Shown above are the plans we modified for an eight foot Rumford.
We purchased from Superior Clay the throat assembly, the damper, and about ten 24 by 36 flue tiles, each very heavy. Shown above are the plans we modified for an eight foot Rumford.
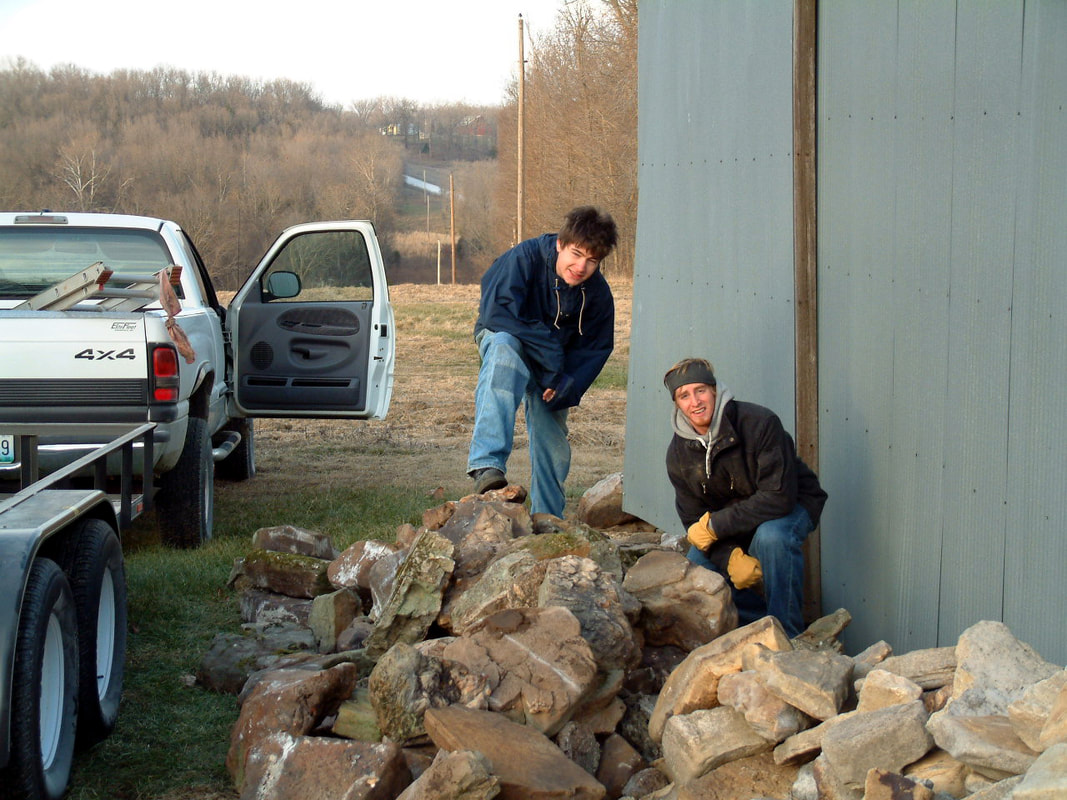
Here my two sons, Quinton (left) and Dashiell (right) helped to collect field stone from our property. We also purchased stone locally - plentiful in Missouri. I'd estimate 20 tons went into the fireplace alone.
|
|
|
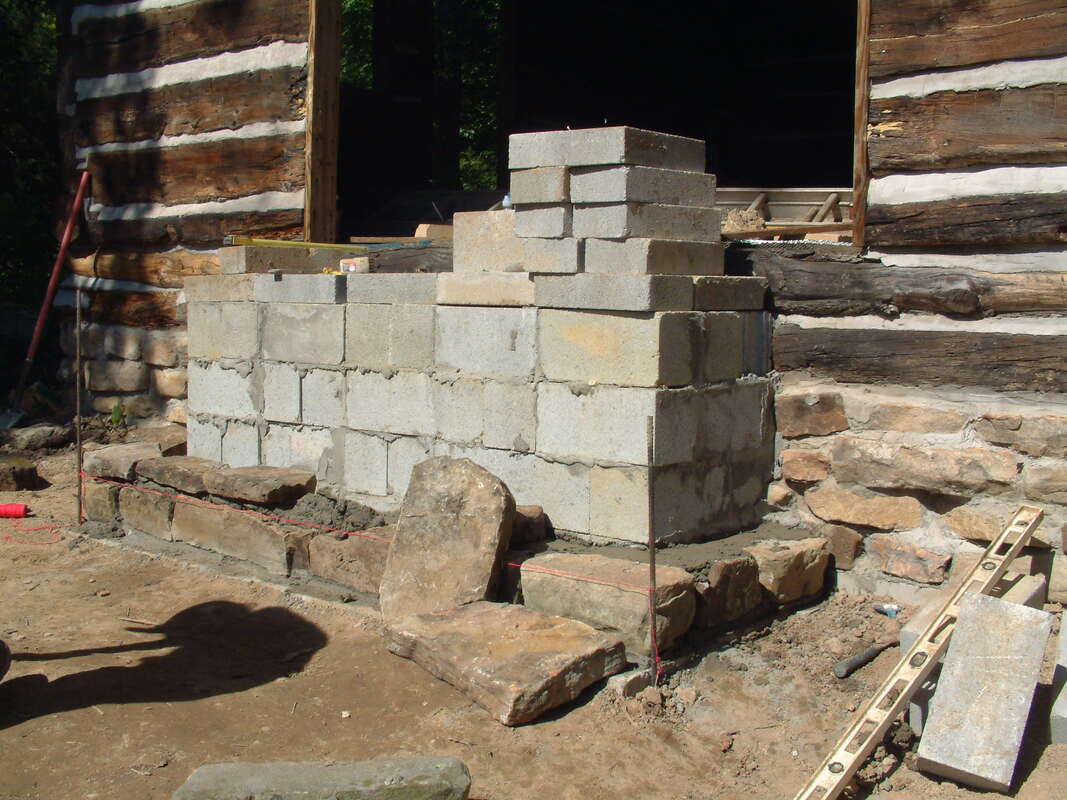
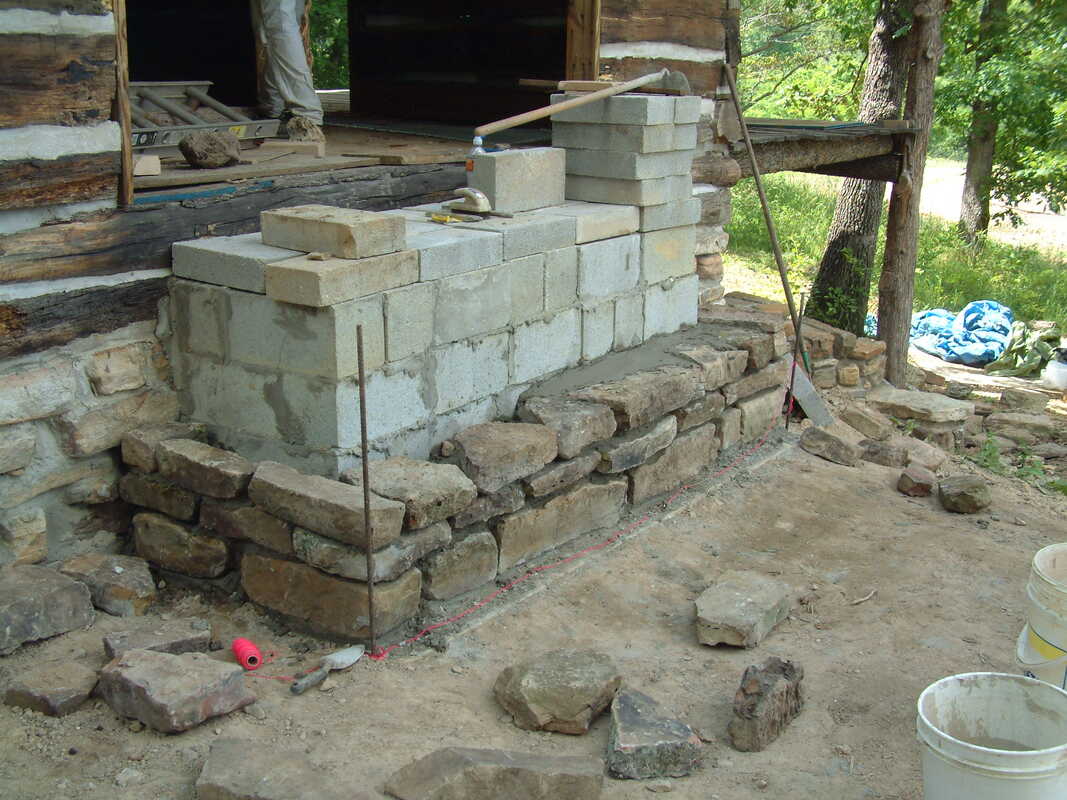
We wanted a lot of conductive heat dissipation so used the first course surround of concrete block, followed by a second course of field stone.
|
Note something about the log just under the fireplace opening.
|

The hearth is going to be a very important element to the fireplace. It will be made of mortared firebrick, The span across the beams (about three feet) is too great as the hearth would crack with even the slightest movement. Therefore a new additional beam - cut to exacting standards - had to be inserted between the floor joists under the hearth. Note the first log was cut to the fireplace opening but the sill log remains.
|
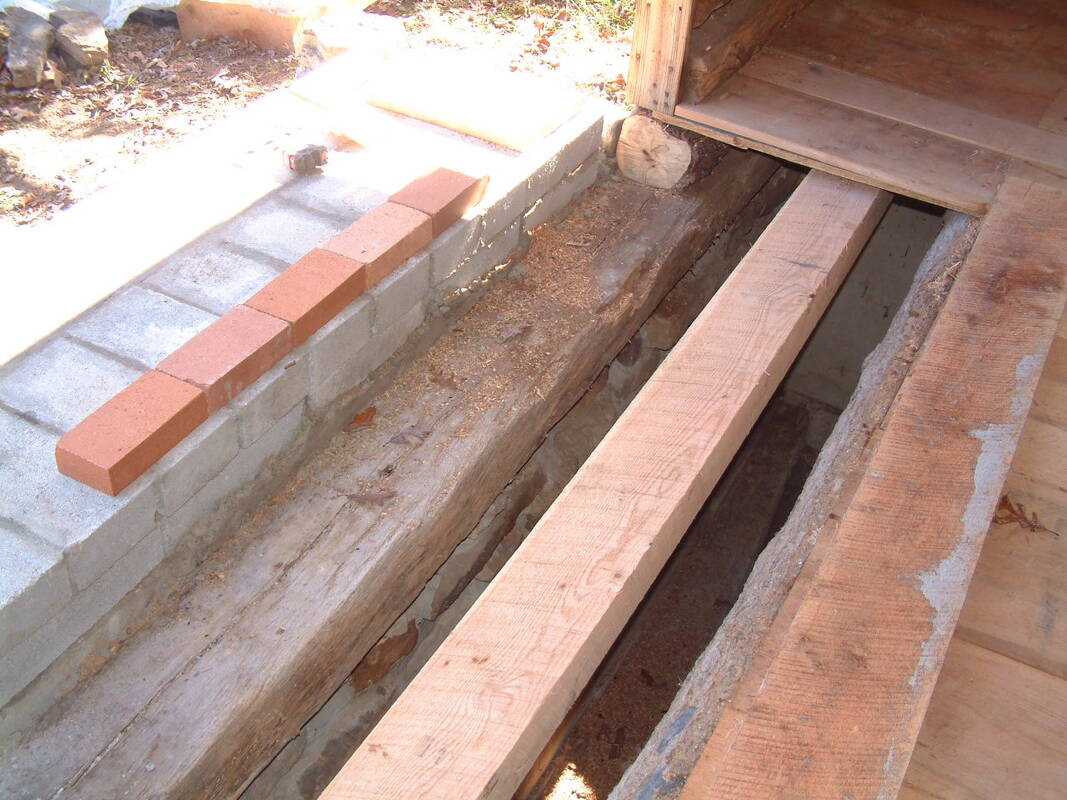
Same as picture on left with perspective from above. Note the composite subflooring. For the hearth, hardiebacker cement board will rest on top of the subfloor. On top of that will be the mortared-in fire brick. The trick will be to have the top of the firebrick exactly level with the rough-hewn oak flooring, which will be cut to above a one inch thickness. The idea is to have the hearth and the flooring at equal heights so a chair can be scooted right up to the fire box. Also for hearth cooking, embers can be pulled from the firebox onto the hearth for additional cooking area .What's wrong with this set-up (very wrong); scroll to the bottom of page to reveal the answer.
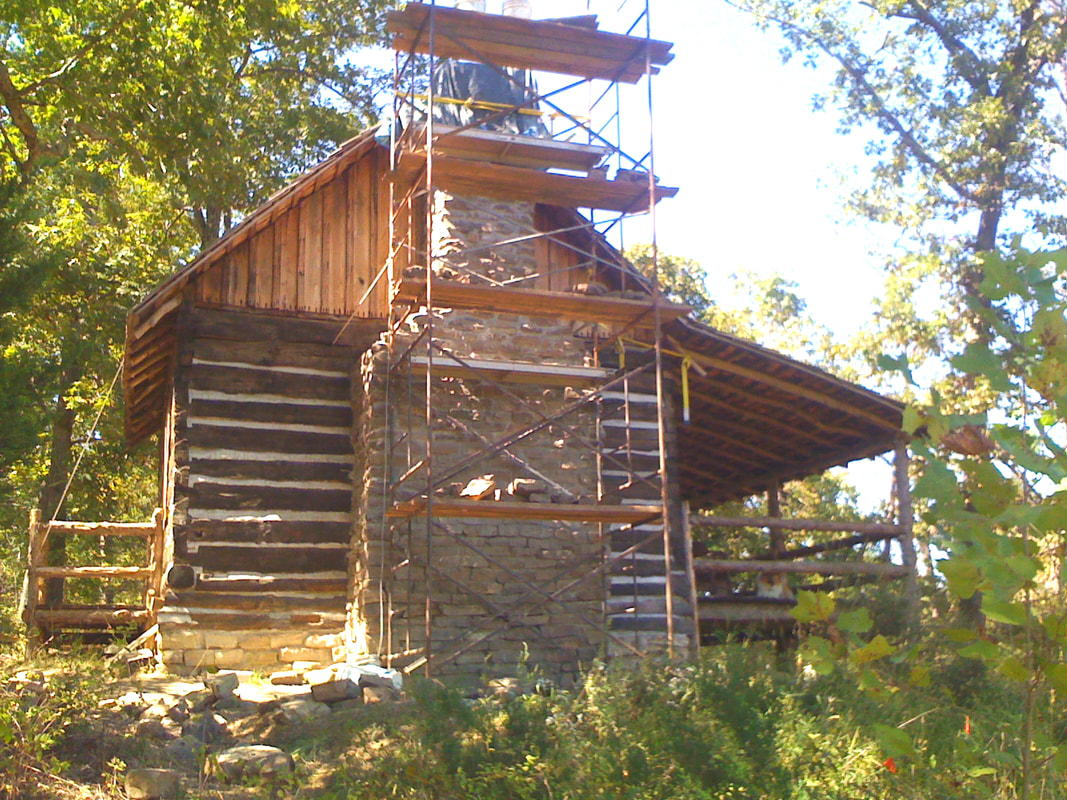
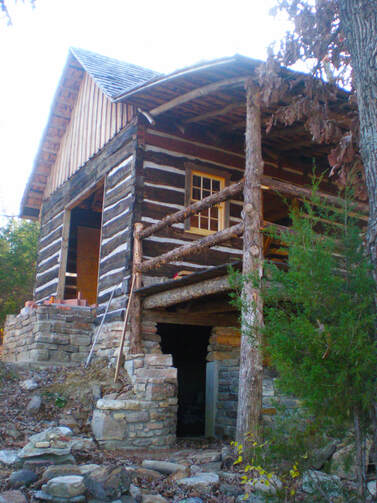
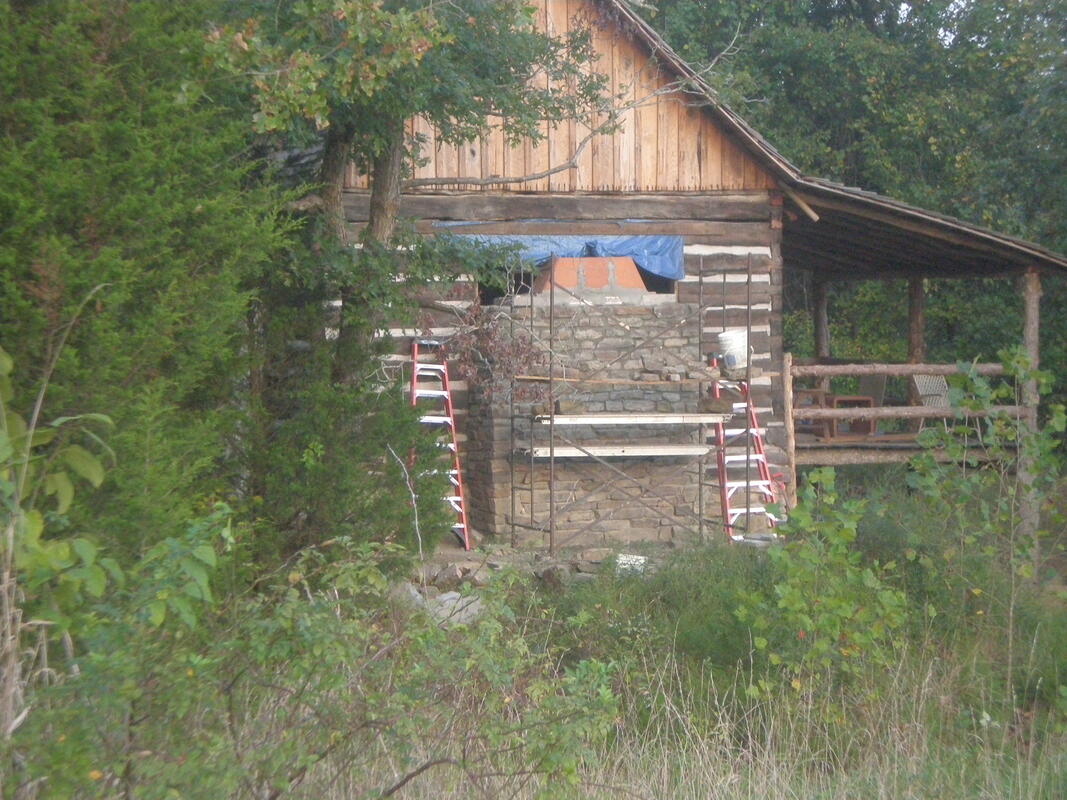
On the left is the same stage of fireplace construction from an exterior view. Note that a large front porch has been constructed with the idea that it will be a stage from which entertainment hoedowns will take place. Three mighty cedar trees hold the porch together. Also observe the multi-paned windows have been designed and created by a hired artist. The chimney ultimately will intersect the roof, requiring cut-out and flashing. Stone work on the basement entry has begun simultaneously with the fireplace. |
Here one can see the Rumford clay throat is in place. On top of that will be the clay flue liners. One of these massive tiles can be seen lying on the front porch. We're going to need a bigger scaffolding.